No guide matched that search. Try a broader word such as “account”, “sharing” or “backup”.
Getting StartedCreate your first cashbook
- Open iCashPro and review the Terms & Conditions.
- Choose a supported sign-in method or continue with Guest ID where available.
- Complete the requested profile details.
- Open Settings and add or select a business.
- Create your first account and choose its currency and opening balance.
Start with one business and one account. Add more structure only when it helps keep records clearer.
Account AccessSign in securely
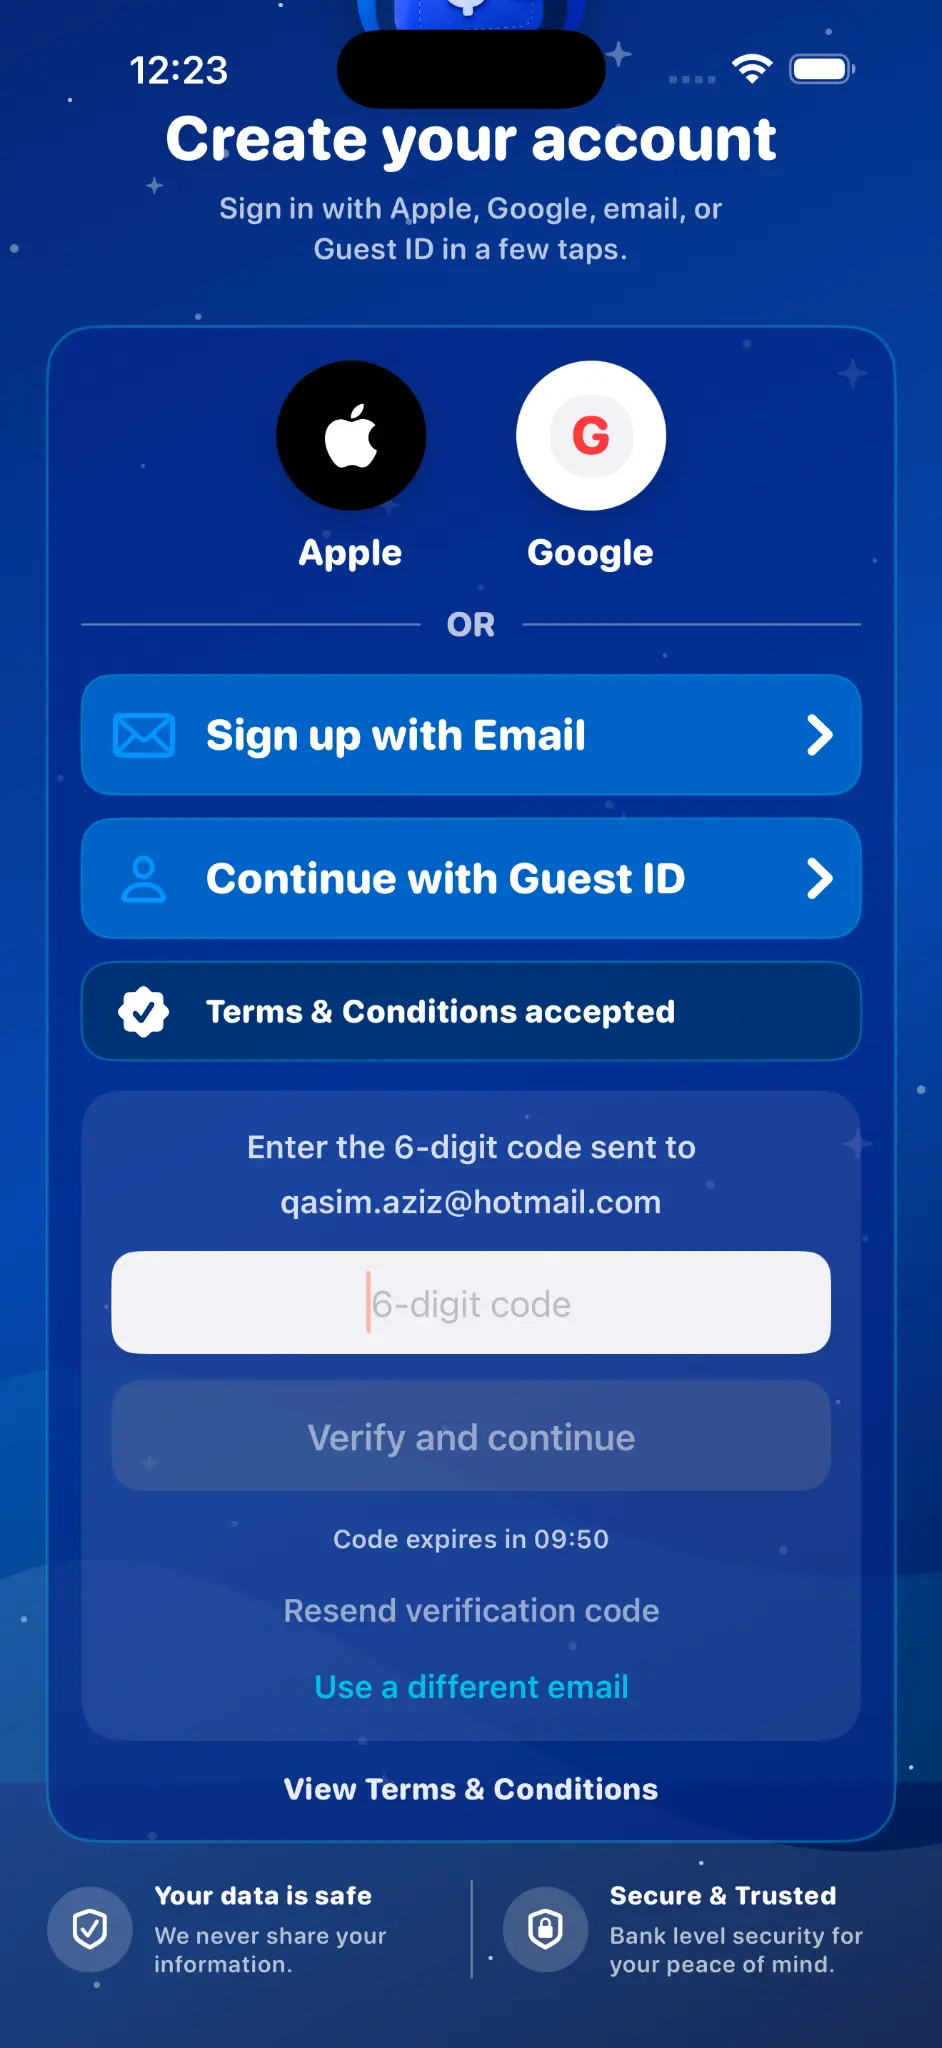
Available methods may include Apple, Google, email verification and Guest ID, depending on platform.
- Select the required method from the account screen.
- For email, enter the address and request a verification code.
- Check the inbox or junk folder and enter the code before it expires.
- For Apple or Google, finish the provider's account selection flow.
Never share verification codes. Internet access is required for authentication.
StructureCreate a business and account
- Open the Settings tab.
- Choose Add New Business and enter a clear name.
- Select the business as active.
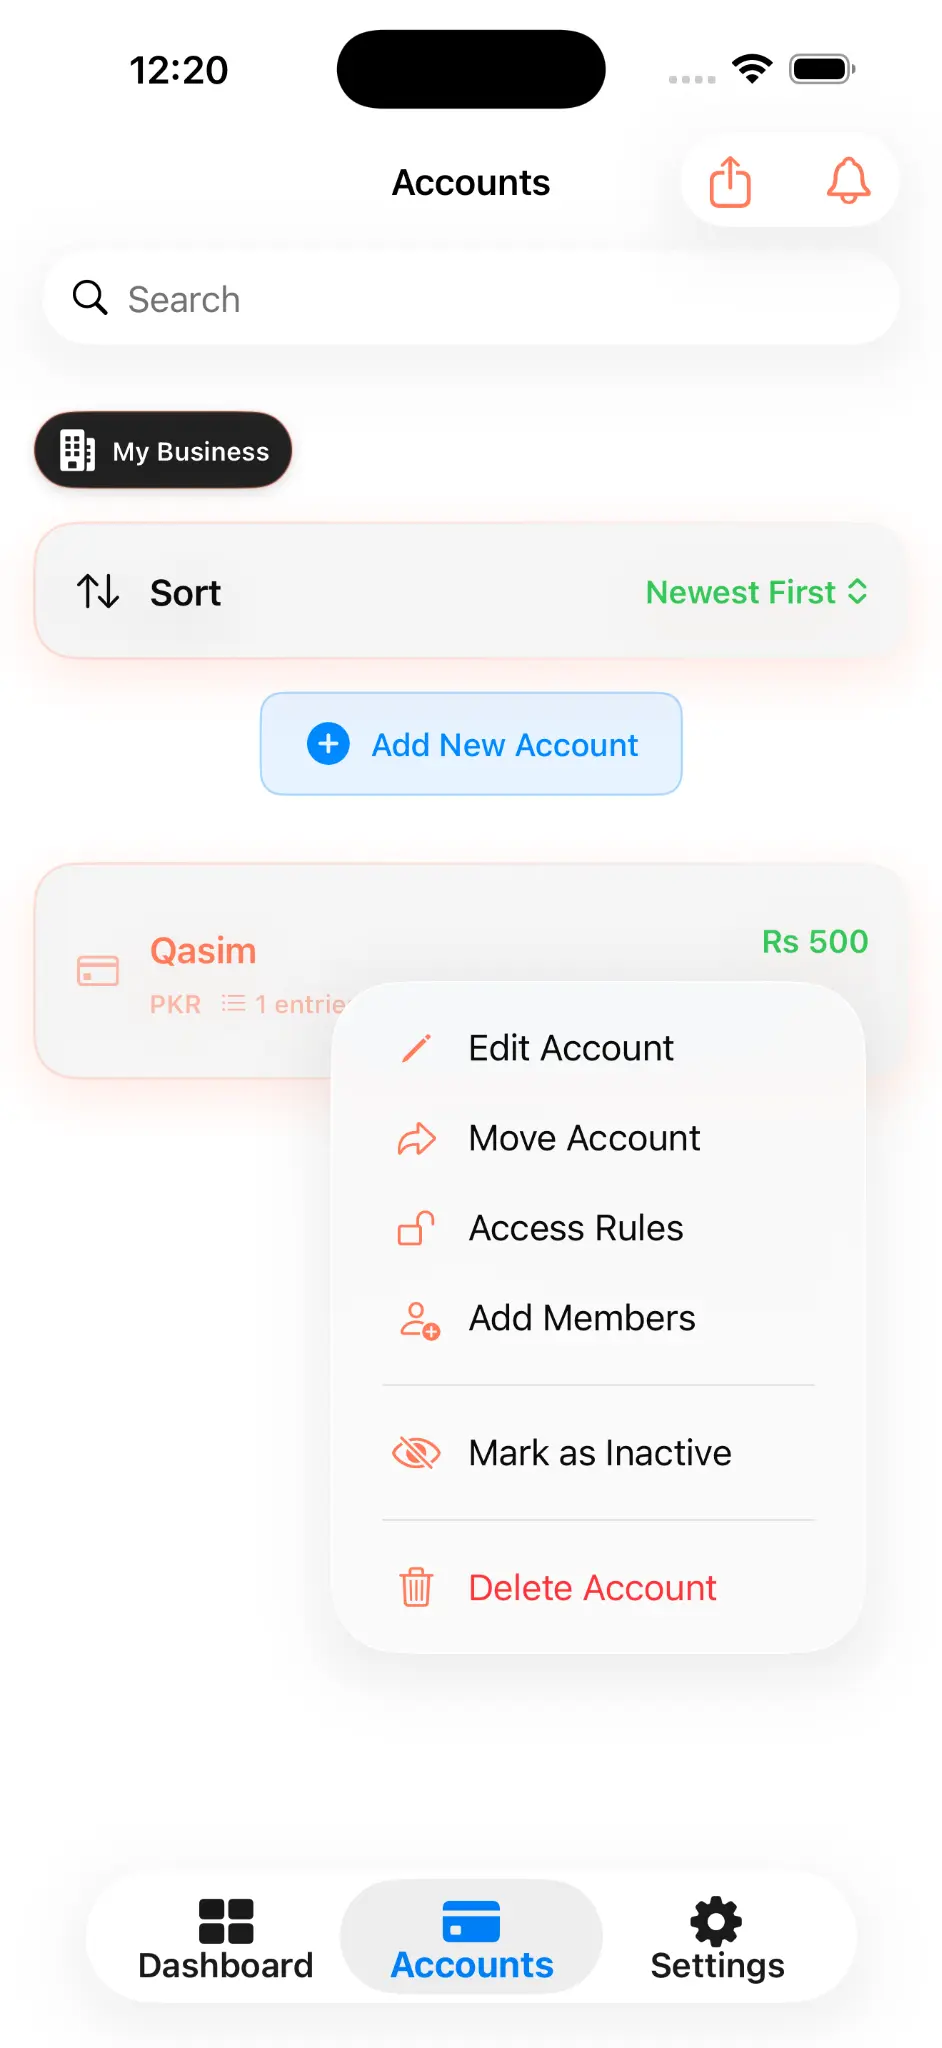
- Open Accounts and choose Add Account.
- Set the account name, type, currency and opening balance.
- Save and confirm that the new account appears in the correct business.
A business cannot be removed while it still contains accounts. Move or delete those accounts first.
TransactionsAdd cash in
- Open the required account.
- Select Add Income or Cash In.
- Enter the amount, date and description.
- Choose an available category and payment mode if required.
- Add supported contact details or an image when useful.
- Save and confirm the account balance and history update.
TransactionsAdd cash out
- Open the required account.
- Select Add Expense or Cash Out.
- Enter the amount and transaction details.
- Apply the relevant category and payment mode.
- Attach a supported image if required.
- Save and review the updated expense and net-balance summary.
Daily WorkManage transactions
Open an entry to view its date, type, amount, description, linked account, category, payment mode and supported attachments. Edit or delete actions appear only when your role permits them. Use search and date filters to locate older entries.
Shared activity may record who created or changed an entry. Do not alter another member's record unless authorised.
ListsManage categories
- Open Settings.
- Open Manage Categories.
- Add a clear category name or edit an existing item.
- Return to a transaction form and select the category.
Categories attached to supported shared transactions are included in cross-platform synchronisation.
ListsManage payment modes
- Open Settings.
- Open Manage Payment Modes.
- Add or edit the modes you use for record keeping.
- Select the correct mode when entering a transaction.
CollaborationShare an account
- Open the account and choose the members/access control.
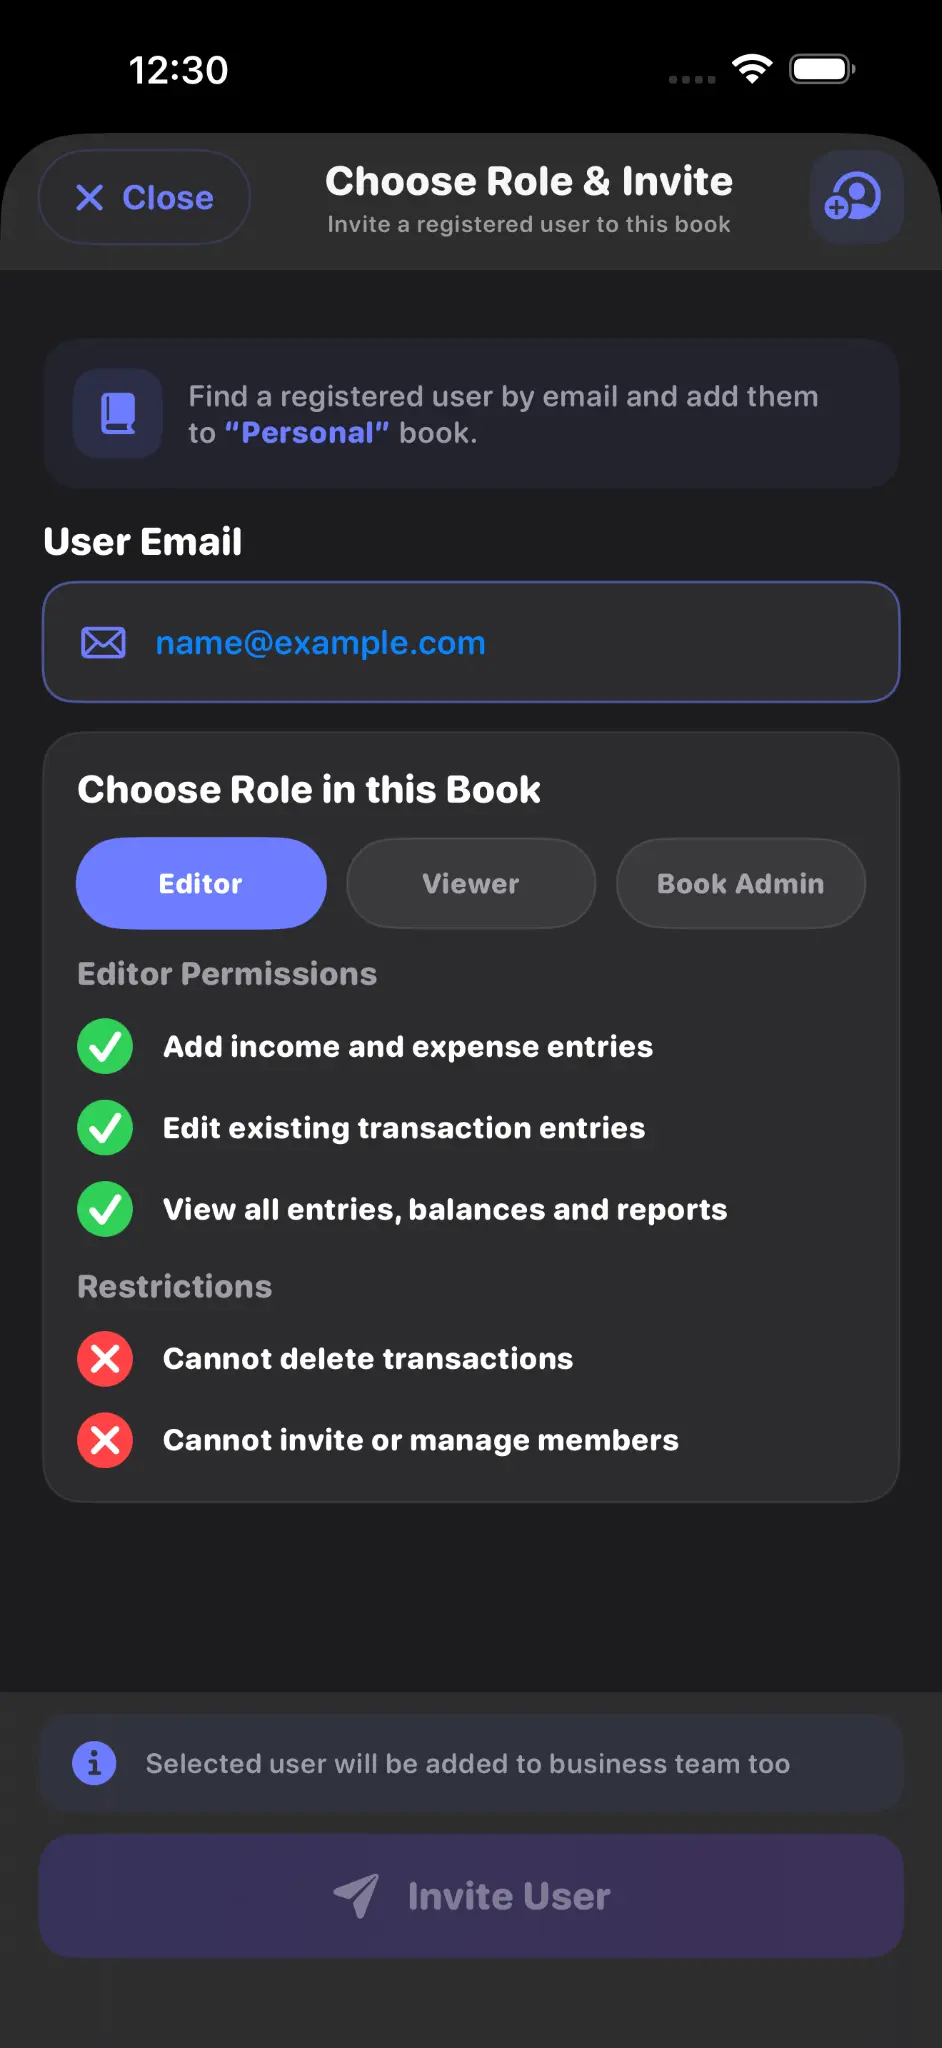
- Search for the recipient using their registered iCashPro email.
- Choose the intended role and send the invitation.
- If an Admin initiated the request, wait for Owner approval.
- The recipient must Accept before access is active.
A pending invitation for the same account and email should be resolved before sending another.
PermissionsUnderstand roles & permissions
- Owner: controls account details, members, roles and deletion permission.
- Admin: may manage members; new invitations require Owner approval.
- Editor: may add and edit transactions. Deletion is available only when Allow Delete is enabled by the Owner.
- Viewer: has read-only access.
PermissionsRemove a member or leave
An Owner can open account access controls, select a member and remove that member's future access. A member can leave a shared account. These actions do not recall information already viewed, exported, copied or independently backed up.
AlertsNotifications
Enable device notifications to receive supported reminders and account-sharing activity. Invitation, approval, acceptance, rejection, role-change and removal events may generate in-app or push notifications. When several in-app messages are pending, close the current message to continue to the next.
DataCreate and restore a JSON backup
- Open Settings and select Create JSON Backup.
- Wait for the backup summary, then save or share the generated file securely.
- To restore, select Restore from JSON and choose a compatible iCashPro backup.
- Read the restore summary carefully and verify the resulting accounts and transactions.
Restoring can replace current local data. Keep an independent copy before restoring, signing out, changing devices or deleting anything.
ConnectivityWork offline where supported
Local entry and editing can continue where supported. Authentication, email verification, invitations, shared updates, push notifications and cloud backup require a connection. Keep the app open after reconnecting so pending supported updates can complete.
ReviewSearch, filter and review reports
Use All, Today, This Month or Custom filters inside an account. Review total income, total expense and net balance, then export a supported report if you need a separate record. Always verify reports before relying on them for accounting, tax or legal work.
SecurityProtect your account
- Protect the device and email account used to sign in.
- Never share verification codes or passwords.
- Invite only recognised recipients and grant the minimum required role.
- Remove member access when it is no longer needed.
- Store JSON backups in a secure location.
AccountDelete your iCashPro account
Open iCashPro → Settings tab → Account section → Delete My Account. You must first delete every account you own and leave or remove every shared account. Read the complete permanent-deletion instructions before continuing.
Open Account & Data Deletion instructions →
TroubleshootingCommon checks
- No verification email: check the address, junk folder and connection, then wait for the resend timer.
- Cloud update delayed: reconnect, keep the app open briefly and confirm you are signed into the correct identity.
- Action unavailable: check the account role and Owner-controlled permissions.
- Restore problem: confirm the file is a compatible iCashPro JSON backup and keep the original copy.
- Still need help: email support@icashpro.com without sending passwords, codes or confidential records.